Congratulations on building your WordPress website! You’ve put in the hard work designing and crafting your content, and now it’s time to share it with the world. In this step-by-step guide, we’ll walk you through the process of publishing your WordPress site effortlessly and effectively, ensuring that your website is live and ready to attract visitors in no time.

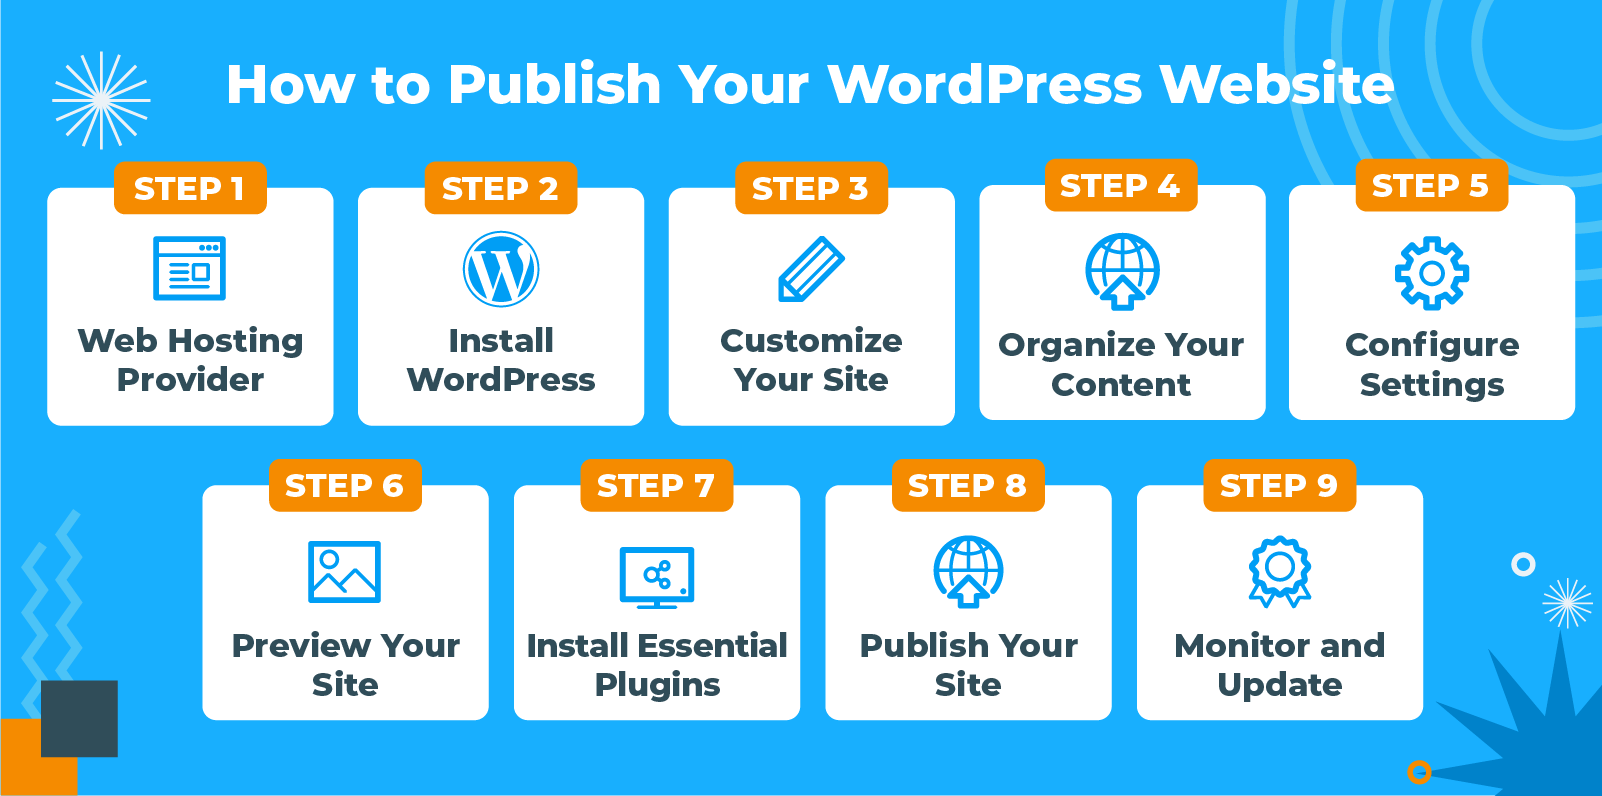
1. Choose a Reliable Web Hosting Provider
Before publishing your WordPress site, you must choose a web hosting provider to host your website’s files and make it accessible online. Look for a reputable hosting provider with reliable uptime, fast loading speeds, and excellent customer support.
2. Install WordPress
Most web hosting providers offer straightforward one-click installations for WordPress, making starting easy. Log in to your hosting account’s control panel (usually cPanel) and locate the WordPress installer. Follow the prompts to install WordPress on your domain.
3. Customize Your Website
Once WordPress is installed, it’s time to customize your website to reflect your brand and vision. Choose a suitable theme that aligns with your aesthetic preferences and business needs. Customize the colors, fonts, and layout to create a unique and engaging user experience.

4. Create and Organize Your Content
Before publishing your site, ensure you have compelling content ready. Create pages like Home, About, Services, and Contact, and populate them with relevant information. Organize your content logically and make it easy for visitors to navigate your site.
5. Configure Essential Settings
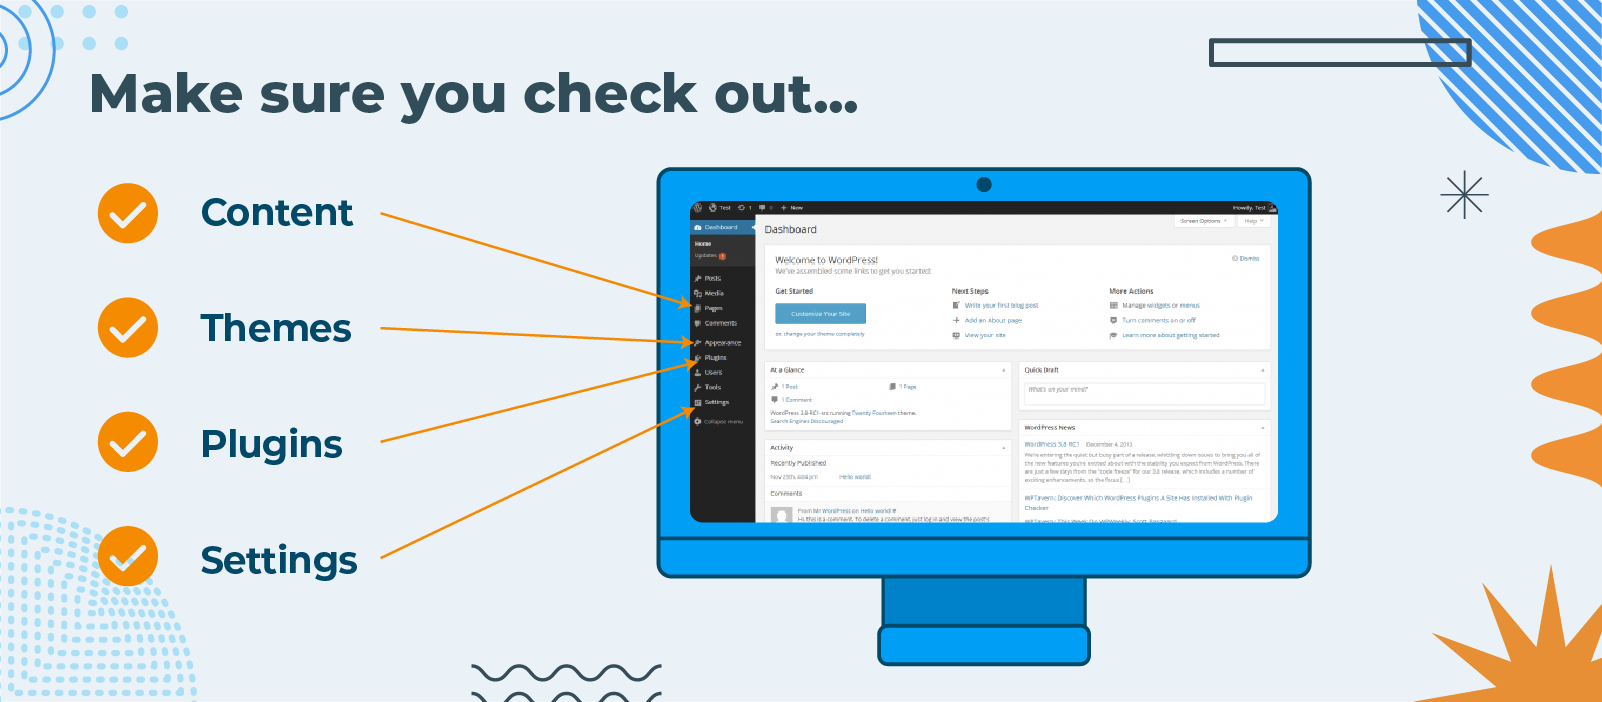
Navigate to the WordPress dashboard and configure essential settings to optimize your site’s performance and security. This includes setting your site title and tagline, configuring permalinks for SEO-friendly URLs, and adjusting reading and discussion settings to control how your content is displayed and shared.
6. Preview Your Website
Before making your site live, take the time to preview it and ensure that everything looks and functions as intended. Check for any formatting issues, broken links, or missing images. Test your website on different devices and browsers to ensure compatibility and responsiveness.
7. Install Essential Plugins
Install essential WordPress plugins to enhance your website’s functionality. These may include SEO plugins like Yoast SEO to optimize your site’s search engine visibility, security plugins like Wordfence to protect against threats, and performance plugins like WP Super Cache to improve loading speeds.
8. Publish Your Website
Once you’re satisfied with how your website looks and functions, it’s time to publish it for the world to see. Navigate to the WordPress dashboard and click the “Publish” button to make your site live. Your website is now accessible to visitors, and you can start promoting it to attract traffic.
9. Monitor and Update Regularly
Publishing your WordPress site is just the beginning. To ensure its ongoing success, regularly monitor your site’s performance using tools like Google Analytics. Keep your content fresh and up-to-date by regularly publishing new blog posts or updating existing pages.

Publishing your WordPress site doesn’t have to be daunting. This step-by-step guide lets you publish your website efficiently and effectively, attracting visitors and achieving your online goals. Remember to choose a reliable hosting provider, customize your website, create compelling content, configure essential settings, preview your site, install crucial plugins, and regularly monitor and update your site for continued success. With the right approach, your WordPress site will be ready to shine on the web.
Don’t have the time to invest in your business’s website? No problem! That’s what we’re here for. Let us take the lead today!


