Low-quality photos can lead to a bad first impression online. But taking great photos for your business’ online profiles is as simple as learning a few tricks on your smart phone.
If you’re having trouble taking and sharing great photos with your phone, rest assured: you’re not alone. A huge number of adults have avoided the smartphone bandwagon, and a good portion of those that have aren’t familiar with all the functions.
Here’s why good photos are an absolute necessity to small businesses, and how to send them:
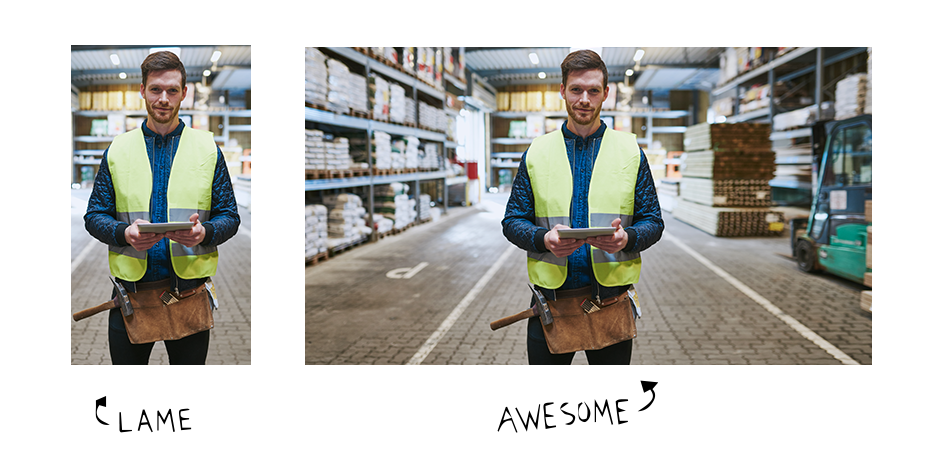
Low quality photos hurt your online presence
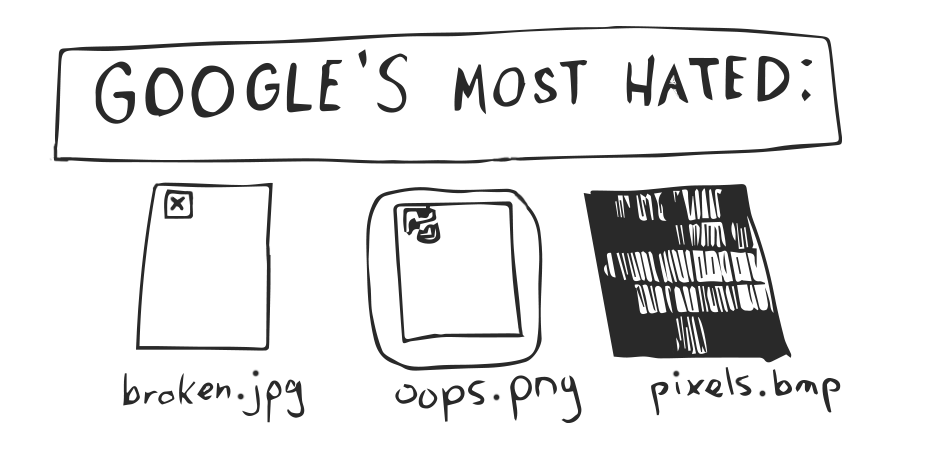
You can’t talk about how great high-quality photos are without talking about how bad low-quality photos are. We’ve all seen them, and we all react the same way: with disgust, confusion, and abject horror.
Low-quality photos hurt your small business in the following ways:
Bad First Impression:
Low-quality photos contribute to a customer’s first impression of your business online. An ugly, blown-up mess of pixels is not inviting, and customers are way more likely to click off of your site. Sometimes, a bad photo is worse than no photo at all.

Google Hates Poor Quality:
Google’s #1 job is to connect users with the best, most relevant, and most engaging content. They are doing their damndest to make a web-user’s experience as enjoyable and immersive as possible. Google has been waging a war on low-quality, spammy content since the beginning. If you’re using low quality images, your ranking is penalized, you get less clicks, and less money!
Bad Photos Frustrate Other Professionals:
Low-quality images are unspeakably frustrating for the professionals who are trying to make your web presence beautiful. These web professionals are usually working on some pretty tight deadlines, and it adds a ton of friction to their day to edit your bad photos. Additionally, these people want your business to look its very best, and there’s only so much you can do to improve a distorted, low-fidelity mess.
High-quality photos are more attractive, are smiled upon by Google, and will keep your web developers and account managers happy. Thanks to some amazing leaps in technology, sending good photos is easier than ever.
How to use your smartphone to snap and share great photos
The advent of digital photography has made taking and sending photos easier than it’s ever been. With digital, there’s no film, no stinking light rooms, and no turnaround time for development.
By far, the easiest way to send photos is with a smartphone. If you have a smartphone that was made in the last five years, there’s a good chance it takes high-quality photos that can be sent with a few taps of your finger.
If you don’t have a smartphone, you probably know someone who does. The Pew Research Center has found that by mid-2017, 77% of Americans own a smartphone, and that number is bound to rise. Kindly ask if you can use a smartphone to take a couple of photos, or ask if they’ll take the photos themselves, if they have separation anxiety with their phone (it happens).
Choosing a Subject:
A lot of service area businesses and mom-and-pop enterprises don’t think folks will be interested in photos of their work. On the contrary, outsiders will likely think a day in the life of your business is fascinating. An authentic glimpse into your day-to-day is much more interesting than you might think.
Choose a subject that puts your business in the best light, and allows the personality of your business to shine through.
Here’s a few quick ideas to get you started:
Signage:
Anywhere you have a logo is worthy of photo. Is it huge block letters above the door? Take a few steps back a snap a shot! Is it a wrap or decal on the company van or truck? Take a shot of the vehicle (logo to camera) at the job site! Some folks like to put hilarious messages on their signs to get a chuckle. Take a photo of the sign, so long as it doesn’t get flagged for obscenity!
 Interiors and Exteriors:

Your workspace communicates a lot about your business. If your business has a gorgeous feng-shui to it, get some shots of the inside of your business.
Sometimes, a building’s exterior makes the boldest statement. Is your business a cozy hole-in-the-wall, or is it so big that it changes the skyline of your city? No matter what, the building that contains your business has a unique identity that just might excite potential clients.
In the event of service area businesses, where you don’t have a headquarters or office, focus on the inside and outside of the company vehicle.
Tools of the Trade:
Some jobs need special tools to get a project done. If you have industry-specific hardware, be sure to feature your gear! An old, faithful chainsaw for a tree service worker is a great example. If you run a metal shop, take some photos of the most specialized machines in action.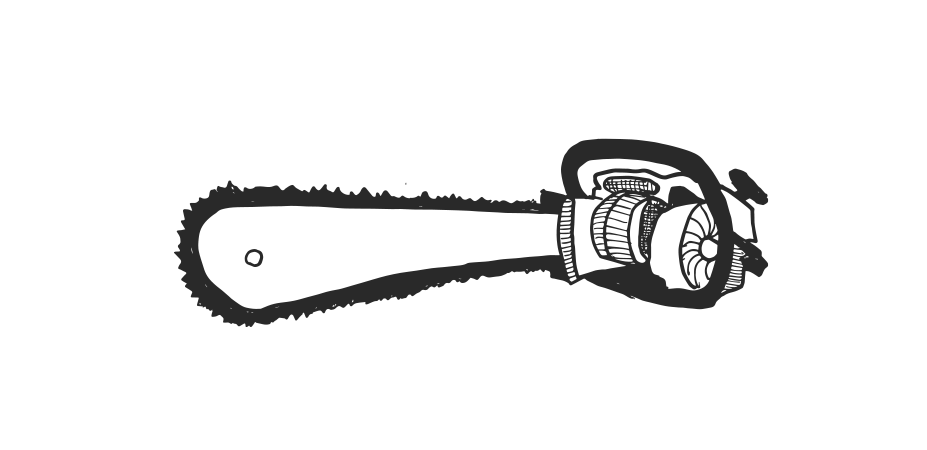
A Human Face to Your Business:
Automation has taken over so much of our lives, but humans will always be the heart of small businesses. Pictures of real owners, employees, and their families makes your business more neighborly. Take a group photo, show the workers working, or even the occasional selfie could encourage engagement!
Portfolios and Galleries:
There’s a good chance your business has done something incredible at some point. Every time a job is done remarkably well, document it with a photograph, and let the world see! A stunning portfolio builds value, more than you could even expect.
Pro tips for snapping professional-looking photos with your smartphone
Photography is a legitimate art form that takes a very long time to master. Here’s what you need to know to get the best quality photos, without a 5-figure arts degree:
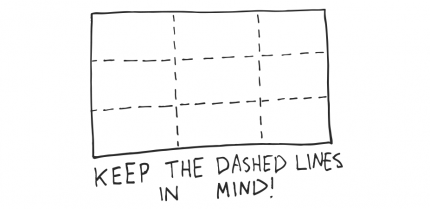
Framing:
You’ve picked the subject of your photo, now frame it nicely. Make sure your photo captures enough detail and it captures the entirety of what you want shown. The rule of thirds dictates that dividing your shot’s composition into a 3 x 3 grid yields great photos.
Try it out!
Lighting:
I cannot stress the importance of lighting enough. A dark photo loses a ton of detail, and may frighten some customers away. An overly bright, washed out photo can make your photo garish, cold, or confusing.
Try your best to take photos in warm, natural light. A lot of photographers swear by the “Golden Hour” for outdoor photos, an hour after sunrise, or an hour before sunset, when the light is warmer, and more diffused.
Camera Orientation:
If you’re using a smartphone, take the photo horizontally, which means turning your phone on its side for photos. Vertical photos usually get cropped, and you will very likely lose a lot of material. Horizontal photos work better for the web, and are pretty universally preferred. Horizontal rectangles are standard on the internet.
Quantity = Quality (Sometimes):
Since you don’t have to worry about film, take as many photos as you can. This gives you a bigger pool to select from. Chances are, even an amateur photographer can come up with a great photo if you take enough. Take plenty, scrap the ones that didn’t turn out, and keep the best of the bunch.
How to send high-quality photos with your cell phone
You’ve taken your photos, and you like quite a few of them! What now?
Sending photos is sort of the most important part of digital photography, and it’s where we lose a good amount of people. If a photo is taken on your smartphone, and no one sees it, it serves no purpose.
Here’s how to submit high quality photos on iPhone and Android devices:
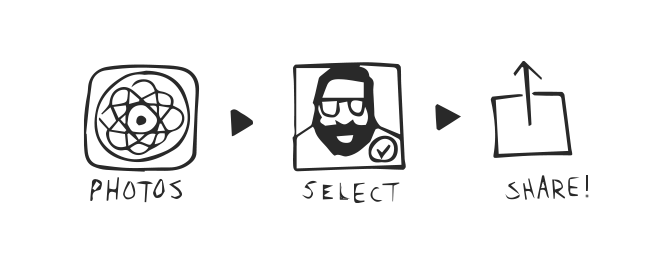
iPhone:
To send photos on iPhone, tap the Photos app. Inside that app, make sure the icon labeled “Albums” in the bottom-right corner of the screen is highlighted (if it’s not, tap the Albums icon).
Your photos will be contained in an album called “All Photos” and/or “Camera Roll,” unless you put the photos in a different album. Tap on the album that has your photos, and a grid of your photos will display.
In the upper-right corner of the screen, you’ll see the word “Select” in blue. Tap the word “Select,” and start tapping the photos you want to send. When a photo is selected, a small blue circle with a checkmark will appear in the lower-right corner of each photo.
Once you’ve selected all the photos you want to send, select the square (with an upward arrow coming out the top) icon in the lower-left of the screen. A new screen will display, with options for sending the photos.
There are several ways to send images from your iPhone, but let’s assume you’re sending your photos via email for the purpose of this tutorial. Tap the icon that looks like an envelope, and says “Mail.”
At this point, you can send the images to the email address of the person you’re sending the photos to. If you don’t have the email address of the person, you can send them to your own email address, so you can keep them on your desktop computer or laptop until you get the email address.
Once the email address is input, select the word “Send” in the upper-right corner of the screen. At this point you’ll see a few options for sending the photos: Small (xxx KB), Medium (xxx KB), Large (x.x MB), or Actual Size (xx.x MB). For the highest quality, choose Actual size.
If you’re sending more than one file, know that emails have size restrictions. If sending a bunch of photos at once is too big for an email, try sending one or two at a time, in separate emails.
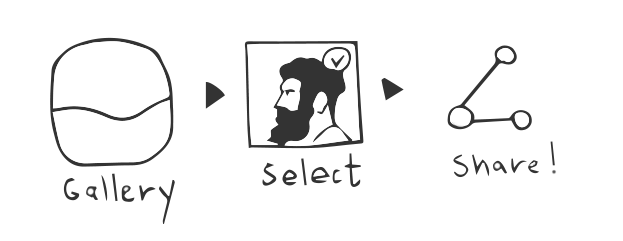
Android:
If you’re using an Android device, tap the icon labeled “Gallery” or “Photos.” This will open the app you’ll need to access the photos you’ve taken.
Tap and hold the desired photo. You’ll see a checkmark inside the photo, in the upper-right corner, to signify that the photo has been selected. Some Android devices will allow you to select multiple photos at once. If it allows you to, select all the photos you want to send.
Again, high-quality photos are large files, and email has limits. Try sending a few photos at a time, if you think your files may be more than a few megabytes.
In the lower-left (or top, depending on the device) of the screen should be three circles connected by two lines icon, with the word “Share.” Tap this icon.
A display of apps will appear. Select the red-and-white envelope icon, labeled Gmail to send the photo(s) as an email.
Input the email address of the recipient, and include a subject in the subject line. For the highest-quality photos, select the “Full Size” option, and hit Send.
Note: There is a tremendous variety in Android devices, and these steps may differ between products. If you hit a wall, contacting support or consulting the user manual may help.
Make Sure They Get the Photos:
Once you’ve sent the photos, your work is not done. I can’t tell you how many times this blog’s humble author has sent some big photos that got stuck in email purgatory. A bit after the email is sent, be sure to confirm that the recipient got the email and the photos are going to work.
Sometimes photos take a few minutes to arrive, and sometimes it’s nearly instant. It depends on your connection, and the recipient’s connection. If the photos haven’t arrived, be sure to check if the email address is correct, and the photos are contained in the email.
Your customers (and the internet) will thank you!
More of the population will be taking and sending photos via smartphone in the next several years, and it’s never too late to learn. If you’re absolutely new to sending photos via smartphone, you may have to play around with it for a couple of days (or weeks) to get the hang of it. At times, it will be aggravating. Other times, it will be a fun, digital romp.
No one can deny the fact that digital photography is here to stay. Embrace the learning curve, and try to have some fun with it!
The Internet will thank you.